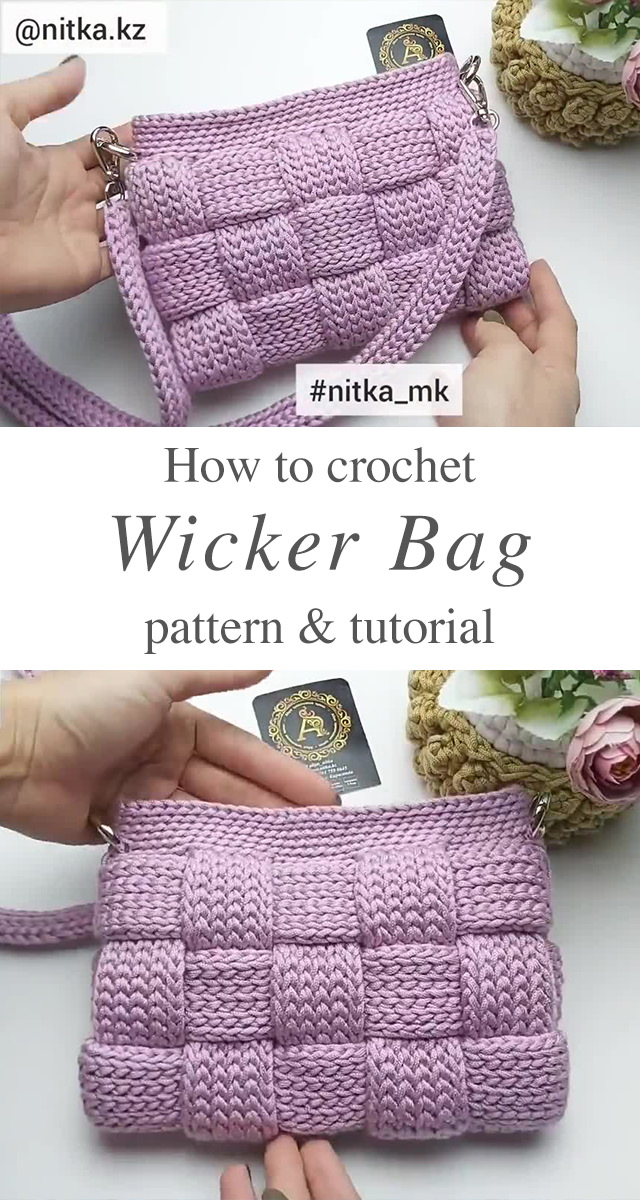
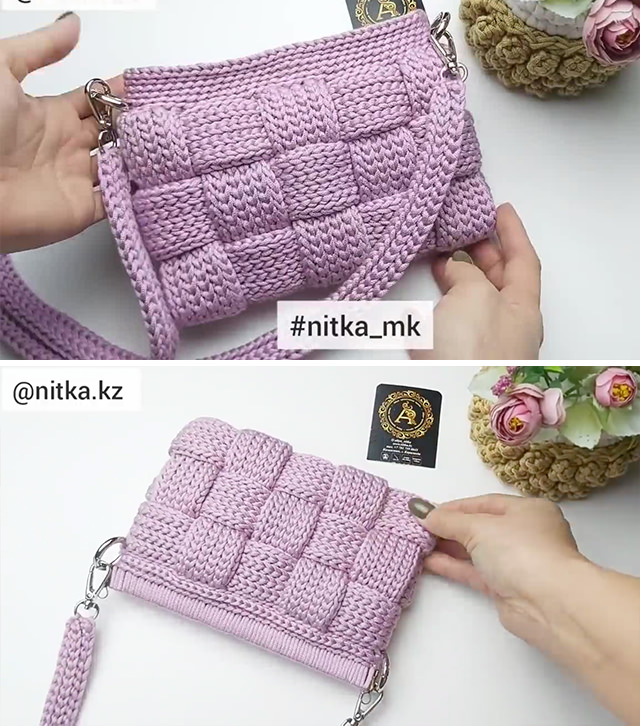
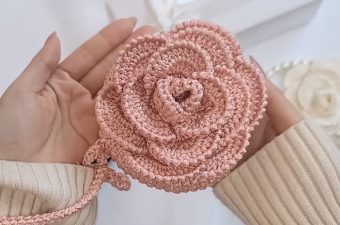
This crochet wicker bag is a stellar project for gifting for the holiday season. You just need to follow this tutorial to learn how to finish it easily.
THE CROCHET WICKER BAG
This crochet wicker bag doesn’t require too much yarn and it works so quickly. All you need to finish is to know how to make a slip stitch. It’s very easy and simple & perfect for beginners.
My Latest Videos
Flowers Related Posts:
Related Posts
Keep reading for the pattern and video tutorial of this crochet wicker bag.
Materials
To create this crochet wicker bag, you will need a crochet hook of 4 mm, any acrylic cord (3mm thickness), flexible frame (20cm) or magnetic button, shoulder strap with 2 hangers, 2 rings.
Abbreviations:
- Chain(s) = Ch
- Stitch = St
- Back loop only = BLO
- Slip stitch = sl st
Pattern of the Crochet Wicker Bag
First strips:
– Slip knot, start with chain 43.
– Working in the back pump of the chains, sl st to the 2nd ch from hook, sl st across the chains, ch1, turn. [42st]
– Working in BLO, sl st across the row, ch1, turn. [42st]
– Repeat previous row for 7 more times, ch44.
– Working in the back pump of the chains, sl st to the 2nd ch from hook, sl st across the chains, ch1, turn. [42st]
– Working in BLO, sl st across the row, ch1, turn. [42st]
– Repeat previous row for 7 more times, ch44.
– Repeat previous 3 steps for 3 more times. (5 strips connected together)
Second strip: (make 3)
– Slip knot, start with chain 71.
– Working in the back pump of the chains, sl st to the 2nd ch from hook, sl st across the chains, ch1, turn. [70st]
– Working in BLO, sl st across the row, ch1, turn. [70st]
– Repeat previous row for 7 more times, fasten off, leave 15cm tail to use later.
- Using the yarn tail and with tapestry needle, sew the 2 ends together.
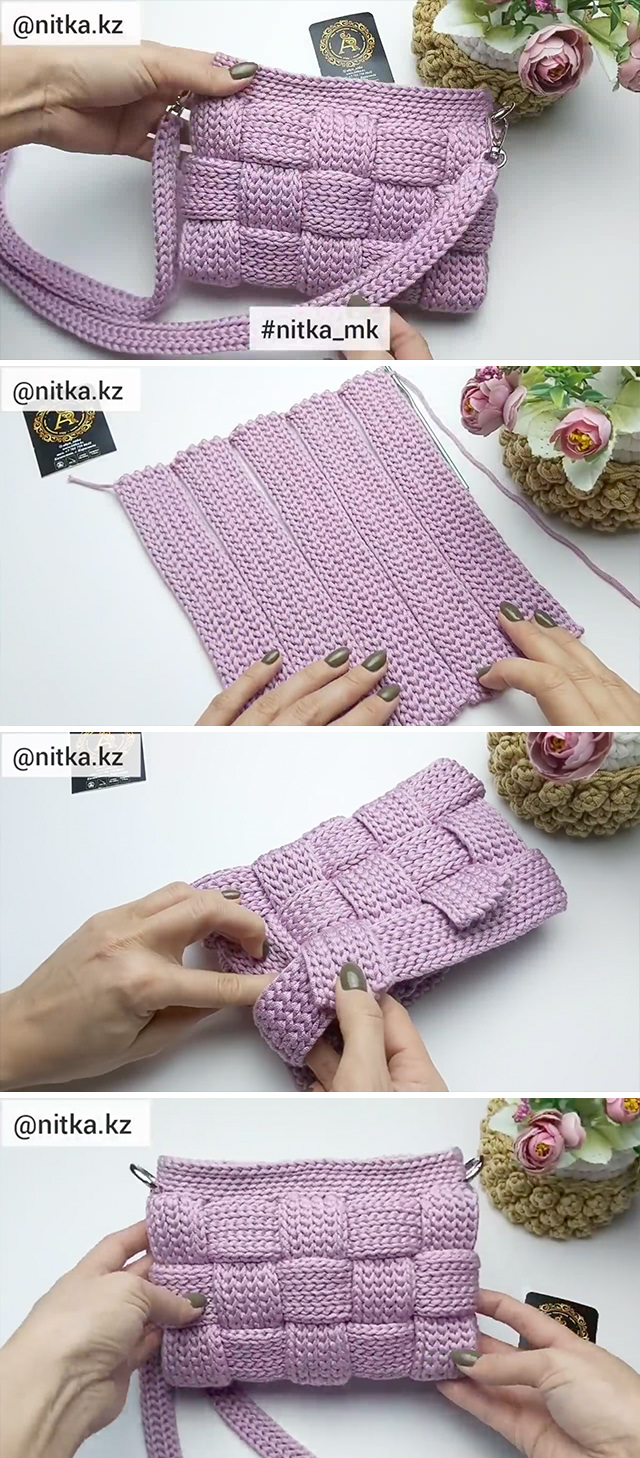
- Spread the attached strips on the table.
- Get one of the second strips and interlace the strips in a staggered order.
- Repeat for the other two strips.
- Use the remaining parts of the connected strips, and wrap them across the backside of the second strips in a staggered order.
- Tie the ends to the strips using markers.
- Use the yarn in the first strips, sl st across to connect the 2 ends together.
- If you will use a flexible frame, sc across the frame until be invisible, here we made 72st.
- Sl st between the bag top stitches and the frame stitches, fasten off, weave in all ends.
- If you will use a magnetic button, continue working from the last sl st row, ch1, sl st across the round, repeat for 5 rounds, fasten off, weave in ends.
- Sew the magnetic button to the middle of the bag inside.
Follow CrochetBeja on your favorite social media sites: Facebook, Pinterest, Youtube , Instagram and subscribe for the Newsletter so you don’t miss a thing!
Tutorial and photos of this crochet wicker bag by: Nitka kz.



Leave a Reply