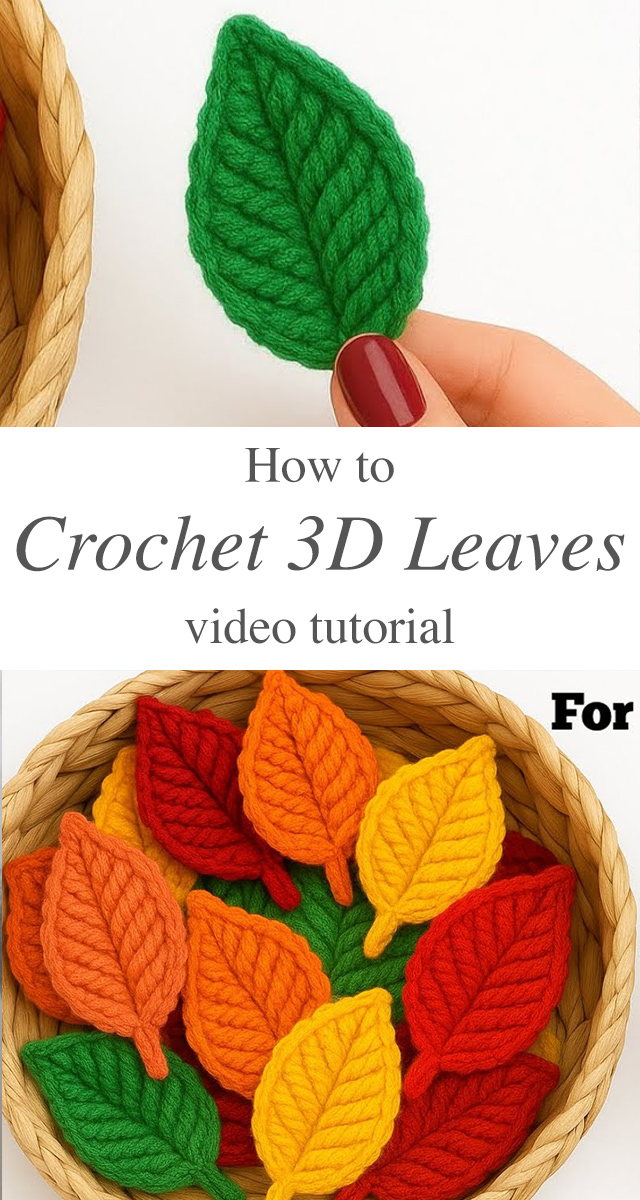
Crochet 3D leaves are one of those charming little motifs that instantly elevate any handmade creation.
The Charm of Crochet 3D Leaves
Crochet 3D leaves possess an alluring appeal because of their raised texture and botanical silhouette. These leaves capture the essence of real foliage, complete with a central ridge and vein-like detailing. Their dimensional form makes them stand out dramatically compared to flat appliqués. They are extremely versatile. You can turn them into garlands, attach them to hats or headbands, or scatter them across fall-themed displays. Their size is adjustable, their colors can be vivid or muted, and their style works wonderfully for both minimalist and bold designs. The best part? They require minimal yarn, making them the perfect stash-busting project.
Leaves Related Posts:
Related Posts
They add dimension, character, and a lovely organic touch—whether you attach them to scarves, decorate blankets, or use them for seasonal home décor. These tiny masterpieces look intricate, yet they are surprisingly beginner-friendly. With just a bit of yarn and the right guidance, anyone can create lush, sculptural leaves that seem to pop right off the fabric.
Materials
For crochet 3D leaves, you only need a handful of simple supplies: a medium-weight yarn in your favorite shades (green for classic leaves or warm autumn tones for seasonal projects), a suitably sized hook such as 4 mm or 5 mm to achieve a sturdy, well-defined texture, scissors for trimming, and a yarn needle to neatly weave in the ends. Smooth, non-fuzzy yarns work best for beginners because they make each stitch easier to see, and bold colors tend to highlight the sculptural structure of the leaves beautifully.
Get lovely tutorials daily!
Subscribe Now
to receive daily crochet and knit tutorials.
How to Crochet 3D Leaves
Crochet 3D leaves rely on a clever combination of chains, single crochets, and strategic stitch increases. The sequence is straightforward, but the magic lies in symmetry and the way the leaf folds naturally along its central spine.
- Crafting the Foundation
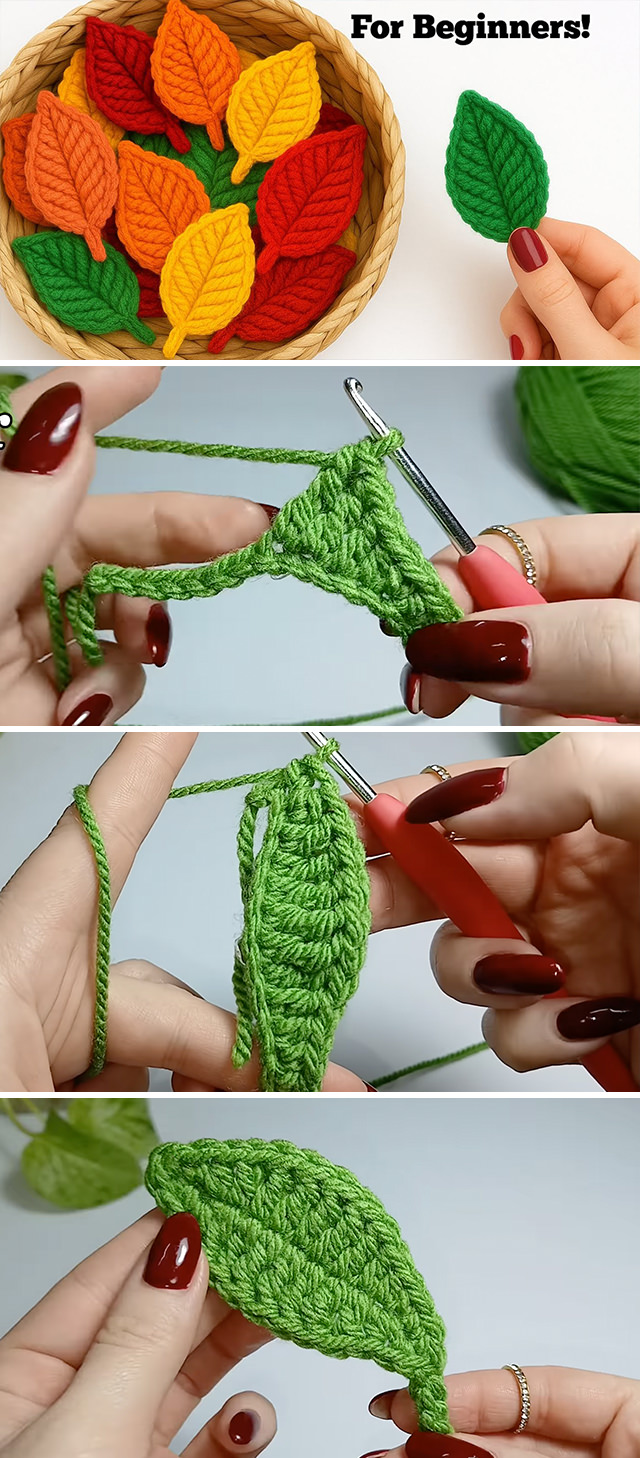
Begin by creating a chain long enough to form the spine of the leaf. This chain determines your final leaf size. A modest chain creates small, delicate leaves, while a longer one results in broader, elongated shapes. Once your chain is ready, work single crochets into the back bumps—this small trick creates a clean, polished edge. - Building the First Side of the Leaf
As you progress down the chain, increase stitch heights gradually: single crochet, half-double crochet, and double crochet. This sequence creates a gentle widening effect that mimics the natural curvature of a leaf. The uppermost stitches give the leaf its peak, while the layered heights form a graceful taper. - Shaping the Tip and Transitioning
When you reach the end of the chain, place multiple stitches in the final loop. This cluster forms the pointed tip of the leaf. The turn here is what gives the design its fluidity. Once the tip takes shape, smoothly transition to the opposite side of the chain. - Completing the Opposite Side
Mirror the stitches from the first side in reverse order. The symmetry creates a satisfying, clean silhouette. The stitches naturally begin to curl inward, forming a tender, dimensional arc along the center. This is where the distinctive 3D effect begins to reveal itself. - Adding the Central Vein
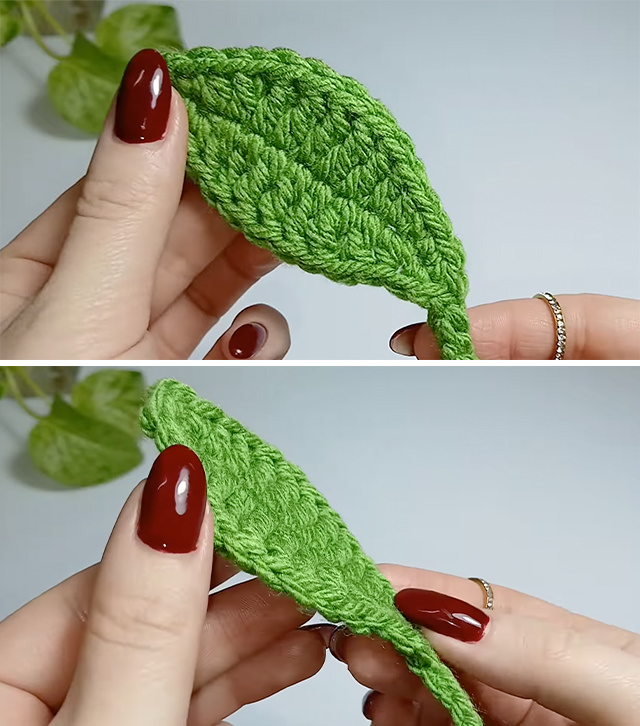
To enhance the architectural structure of your leaf, add a slip-stitch line or surface-slip crochet down the center. This step instantly intensifies the relief effect and makes the leaf feel more realistic. The central line also strengthens the spine, helping the leaf maintain its shape over time. - Securing and Shaping
Once both sides are complete, fasten off and leave a bit of yarn if you plan to attach the leaf as an appliqué. You may gently stretch and mold the leaf to accentuate its curvature. The natural elasticity of crochet stitches helps maintain this dimensional effect effortlessly.
Tips
To make your crochet 3D leaves truly exceptional, consider these small refinements:
- Use a slightly smaller hook to achieve denser stitches that hold their shape.
- Play with color gradients for seasonal leaves—greens for spring, oranges and reds for autumn.
- Block gently if you want wider, flatter leaves without losing the ridge structure.
- Vary your stitch heights to experiment with whimsical or dramatic shapes.
These minor adjustments can dramatically alter the leaf’s personality, allowing you to customize it for any project or occasion.
Creative Ways to Use Crochet 3D Leaves
The possibilities are abundant. Add them to:
- Cozy autumn wreaths
- Granny square blankets
- Bags and totes
- Sweaters or shawls
- Hair clips, brooches, or bookmarks
- Table runners and seasonal centerpieces
- Crochet flowers for a vibrant bouquet
Their tactile charm makes them wonderful embellishments. Gather a handful in a basket for instant decorative appeal—they look delightful all on their own.
Crochet 3D leaves are a delightful, quick, and deeply satisfying project for crafters of all skill levels. Their sculptural quality, vivid texture, and botanical elegance can add a magical finishing touch to just about anything. With just a few stitches and a bit of creativity, you can transform simple yarn into stunning organic shapes that burst with dimension and character.
Whether you’re decorating for the seasons or adding flair to your handmade accessories, these little leaves will quickly become a staple in your crochet toolkit. Enjoy the process, embrace the colors, and let your creativity bloom with every leaf you make.
Follow CrochetBeja on your favorite social media sites: Facebook, Pinterest, Youtube , Instagram and subscribe for the Newsletter so you don’t miss a thing!
Tutorial and photos of this crochet 3d leaves by: NakhArt🪡🧶.


Erin
This is not a pattern, what a waste of my time.