A crochet area rug is more than just a floor covering—it’s a handcrafted masterpiece that adds warmth, texture, and personality to any space.
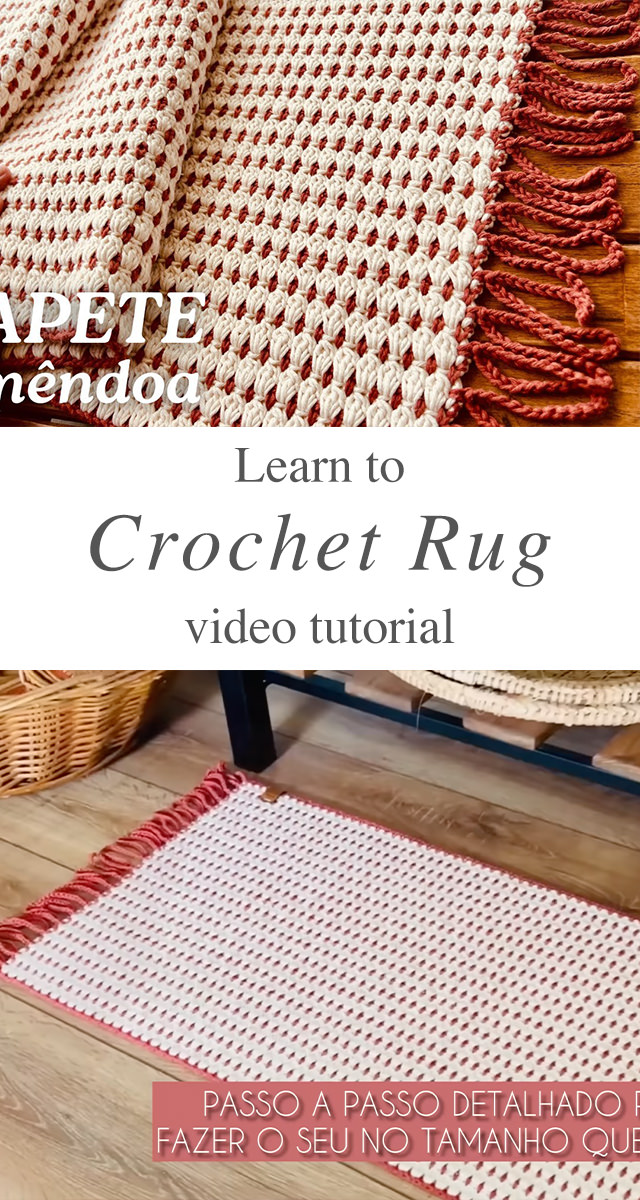
THE CROCHET AREA RUG
Whether you want to create a cozy nook in your living room or a charming accent for your entryway, making your own crochet area rug is a rewarding and practical project. Why Choose a Crochet Area Rug? Handmade rugs bring a unique aesthetic to any home. Here’s why they are a fantastic choice: Customizable Size & Design – You can create a rug that perfectly fits your space and style preferences; Eco-Friendly & Sustainable – Use upcycled fabric yarn or natural fibers to create an environmentally friendly decor piece; Soft & Comfortable – Unlike commercial rugs, a crochet rug feels softer and cozier underfoot; Durability & Longevity – When crafted with quality yarn and proper care, your rug can last for years.
Rugs Related Posts:
Related Posts
In this guide, we’ll walk you through everything you need to know, from choosing materials to following the right stitches and adding the perfect finishing touches.

Materials
Before diving into the tutorial, gather the following materials: Cotton, wool, or t-shirt yarn work best for a sturdy, yet flexible rug. A 3.5mm crochet hook is ideal for working with thick yarn. You’ll need scissors for cutting yarn or fabric strips, stitch marker to keep track of rounds or pattern repeats.

Get lovely tutorials daily!
Subscribe Now
to receive daily crochet and knit tutorials.
How to Crochet Area Rug:
1. Choosing the Right Stitch Pattern
The stitch you select will determine the rug’s texture and durability. Here are some great options:
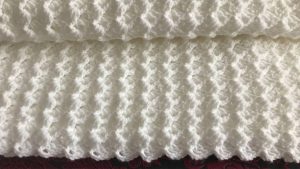
- Single Crochet (SC) – Dense and sturdy, perfect for high-traffic areas.
- Half Double Crochet (HDC) – Adds a bit more height while maintaining durability.
- Puff Stitch – Creates a plush and soft texture, ideal for cozy spaces.
- Moss Stitch – Alternating single crochet and chain stitches give a woven look.
2. Starting Your Rug
- For a Round Rug: Begin with a magic ring and crochet 6-8 stitches into it. Gradually increase stitches in each round until you reach the desired size.
- For a Rectangular Rug: Start with a foundation chain that matches your desired width. Work back and forth in rows, maintaining an even stitch count.
- For an Oval Rug: Chain a base length, then work around both sides of the chain, increasing at the curves to shape the rug.
3. Maintaining Shape and Tension
- Keep your tension consistent to avoid warping.
- If your rug starts curling, try switching to a larger hook or adjusting your stitch count.
- Use stitch markers to keep track of increases, especially in round or oval rugs.
Adding the Perfect Finishing Touches
Blocking Your Rug
Blocking helps set the stitches and improves the rug’s shape. Simply dampen the rug, lay it flat, and gently stretch it into shape. Allow it to air dry completely.
Adding a Border
A decorative border enhances the rug’s aesthetic and prevents fraying. Try these options:
- Reverse Single Crochet (Crab Stitch) – Adds a sturdy, corded edge.
- Shell Stitch – Creates a scalloped, decorative border.
- Simple Slip Stitch Border – Gives a clean and polished look.
Preventing Slippage
To keep your rug in place, attach a non-slip rug pad underneath or use latex backing for extra grip on hardwood floors.
Caring for Your Crochet Area Rug
Proper care ensures your handmade rug remains beautiful for years:
- Regular Cleaning – Shake out dust and vacuum on a low setting.
- Spot Cleaning – Use mild soap and water for stains; avoid harsh chemicals.
- Machine Washing – If using washable yarn, place the rug in a laundry bag and use a gentle cycle.
- Drying – Lay flat to air dry to prevent stretching or misshaping.
Get Inspired: Patterns and Variations
Looking for ideas? Here are some stunning crochet area rug styles:
- Boho Chic – Incorporate fringe and earthy tones.
- Modern Minimalist – Stick to neutral shades and geometric patterns.
- Playful & Colorful – Use bold hues and fun shapes for a vibrant look.
- Textured Luxe – Experiment with different stitch heights and techniques.
For an in-depth video tutorial, check out this step-by-step crochet rug guide to follow along visually.
Creating a crochet area rug is a fulfilling and practical project that allows you to infuse personality into your home. With the right materials, stitches, and care, your handmade rug will become a cherished centerpiece in any room. Whether you’re a seasoned crocheter or a beginner looking for a new challenge, this project is a fantastic way to combine creativity with functionality.
Happy crocheting!
Follow CrochetBeja on your favorite social media sites: Facebook, Pinterest, Youtube , Instagram and subscribe for the Newsletter so you don’t miss a thing!
Tutorial and photos of this crochet area rug by: Marcelo Nunes Croche.


Leave a Reply