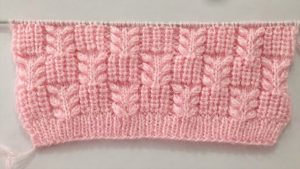
This guide delves into the intricacies of crafting a crochet beret, offering tips, techniques, and step-by-step instructions to help you create a masterpiece.
What is a Crochet Beret?
A crochet beret is a soft, round, and flat-crowned hat that has been embraced by fashion enthusiasts for centuries. Originating from France, berets symbolize sophistication and creativity. When made with crochet techniques, they gain a unique texture and charm that set them apart from their fabric counterparts. Crochet berets are a timeless accessory that never goes out of style. Whether you’re seeking to add a French flair to your wardrobe or craft a thoughtful handmade gift, creating a crochet beret is a satisfying project for beginners and experienced crocheters alike.
Berets Related Posts:
Related Posts
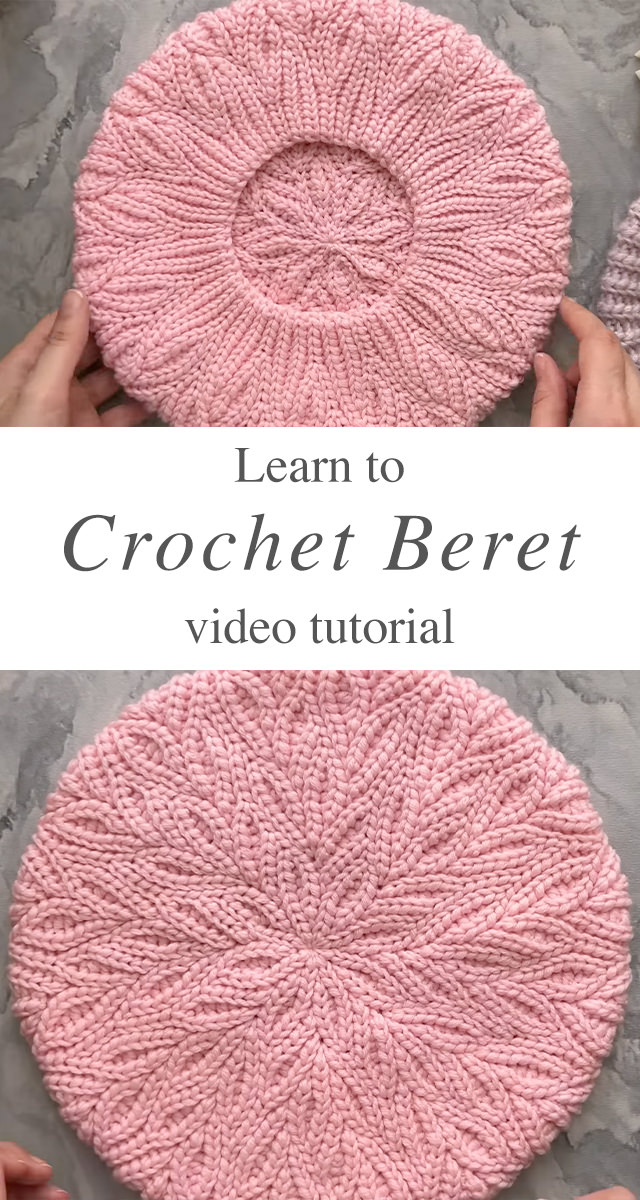
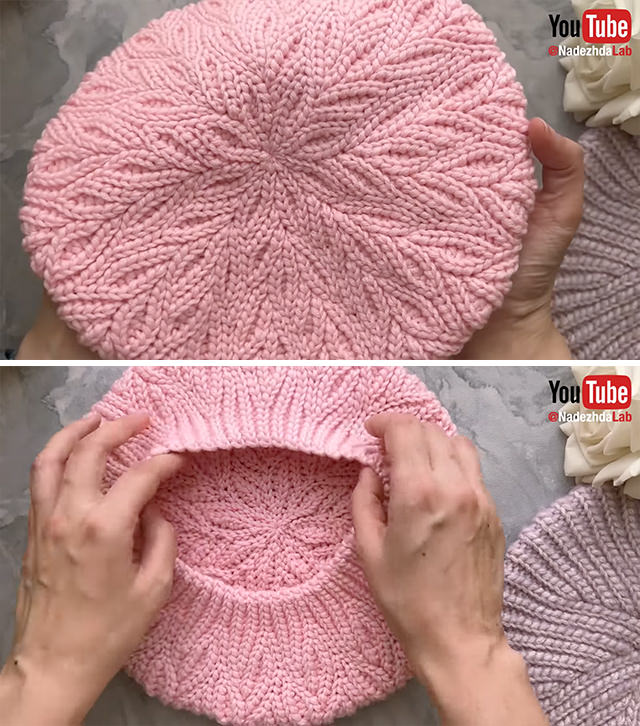
For a visual guide, check out the video tutorial below for additional assistance.

Materials You’ll Need
To create a beautiful crochet beret, you’ll need a few essential materials. Opt for a soft, medium-weight yarn in your preferred color—wool or acrylic works well for warmth and flexibility. Use a 4.5 mm crochet hook, depending on the yarn’s thickness. A tapestry needle is necessary for weaving in loose ends, while stitch markers help maintain accuracy throughout the rounds. Don’t forget a pair of sharp, sturdy scissors for clean cuts. With these tools, you’re all set to embark on your crochet beret project.
Get lovely tutorials daily!
Subscribe Now
to receive daily crochet and knit tutorials.
Step-by-Step Guide: Crafting Your Crochet Beret
Step 1: Create the Magic Circle
Start with a magic circle, chaining two stitches to form your base. Work 12 double crochet stitches into the circle and close with a slip stitch.
Step 2: Increase Rounds
For the next few rounds, increase evenly by adding two double crochet stitches in each stitch. This helps the beret expand smoothly. Use stitch markers to keep track of your rounds.
Step 3: Form the Beret Shape
Continue increasing until the diameter of your circle reaches about 10 inches. Then, start working in even double crochet stitches without increasing. This transition creates the classic flat, round shape of the beret.
Step 4: Shaping the Band
To shape the band, decrease your stitches gradually and work a few rounds of single crochet. Ensure the band fits comfortably yet snugly around your head.
Step 5: Finishing Touches
Fasten off your work and use a tapestry needle to weave in any loose ends. Block your beret if needed to smooth out any uneven edges.
Styling Your Crochet Beret
The versatility of a crochet beret allows you to style it in various ways:
- Classic French Style: Tilt it slightly to one side for a Parisian-inspired look.
- Casual Chic: Wear it loosely at the back of your head for a laid-back vibe.
- Bold and Artistic: Embellish with patches, brooches, or embroidery for a personalized touch.
Common Mistakes to Avoid
- Incorrect Tension: Ensure consistent tension to avoid an uneven shape.
- Skipping Increases: Missing increases can lead to a tight, ill-fitting beret.
- Ignoring Gauge: Always check your gauge before starting to ensure proper sizing.
Why Make a Crochet Beret?
Creating a crochet beret is more than just a pastime. It allows you to:
- Showcase your creativity by experimenting with colors and patterns.
- Craft a personalized accessory that complements your style.
- Develop your crochet skills through engaging and practical techniques.
- Create heartfelt, handmade gifts for loved ones.
Crafting a crochet beret is a fulfilling project that marries creativity and functionality. With a bit of patience and practice, you can create a stylish accessory that resonates with your personal taste. So grab your crochet hook, choose your favorite yarn, and start crafting your own crochet beret today!
Follow CrochetBeja on your favorite social media sites: Facebook, Pinterest, Youtube , Instagram and subscribe for the Newsletter so you don’t miss a thing!
Tutorial and photos of this crochet beret by: MimosdaMalu.


Leave a Reply